Starting plants from seed is a gratifying and cost-effective way to grow your own produce. With a little patience and the right techniques, you can cultivate a vibrant garden filled with fresh, homegrown vegetables. You just can’t beat the quality and freshness when your food is grown by your own hands. Whether you’re growing one plant or hundreds, this guide will teach you how to start plants from seed.
Steps for How to Start Plants from Seed
- Choosing Your Seeds
- Determining Your Growing Zone and Frost Dates
- Preparing Your Seeds and Supplies
- Providing the Right Conditions
- Caring for Seedlings
- Transplanting Outdoors
- Troubleshooting Common Issues
1. Choosing Your Seeds
The journey to learning how to start plants from seed begins with selecting the right seeds. Consider your climate, the growing season, and the space available in your garden. A single pumpkin plant is going to take up a lot more space than a single radish plant. You can choose from a wide variety of seeds with varying growing requirements and difficulty. Grow what you and your family enjoy eating. Don’t like tomatoes? Then don’t waste precious garden space on them.
Opt for seeds from reputable suppliers to ensure high germination rates and quality plants. I buy almost all of my seeds from MIgardener. They have an extensive catalog of varieties at a great price. My germination rate with MIgardener seeds is 90%+. They also have terrific resources and videos for all things gardening.
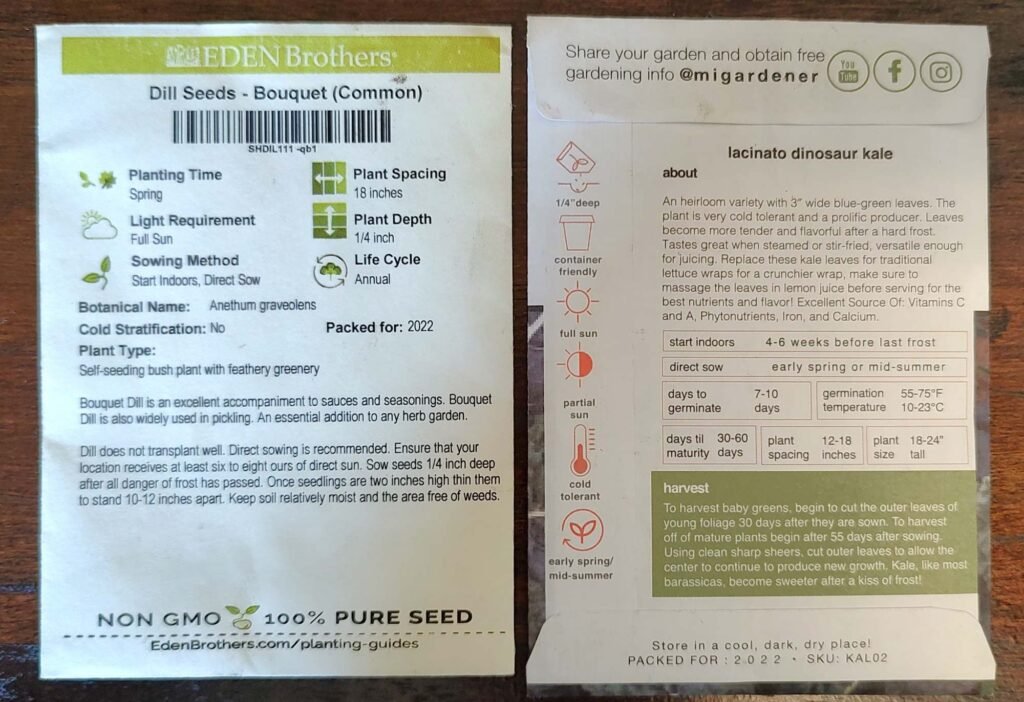
What to look for on the seed packet:
- Type and variety: Type of plant and variety of that plant (Ex: Kale – Lacinato Dinosaur)
- Lifecycle: Annual (must be replanted every year) or perennial (regrows year after year)
- Planting time: Best time of year to plant (early spring, mid-summer)
- Light requirements: How much sunlight the plant requires (full sun, partial sun)
- Seed count: Approximate number of seeds in the packet
- Packed for: Year for which the seeds were packed for best germination (Note: most seeds will continue to have good germination beyond the “packed for” year)
- Plant depth: Ideal depth to plant the seed (1/8, 1/4, 1/2 inch deep)
- Sowing method: Best method for starting the seed (start indoors or direct sow outside – some plants, such as root crops, do best when sown directly outside because they do not transplant well)
- Plant spacing: Recommended spacing between each plant measured from the center (Ex. If the seed packet states 18 inches, measure 18 inches from the center of one plant to the center of the next plant)
- Days to germinate: Number of days for the seedling to emerge from the soil
- Start indoors: Number of weeks to plant the seeds indoors before your last frost date
- Maturity: Number of days for the plant to reach maturity after germination
- Plant size: Height of the plant when it reaches maturity
- Germination temperature: Ideal temperature range for germination
- Cold/frost tolerance: Whether the plant can tolerate a frost
- Cold stratification: Whether the seed requires cold and moist conditions to germinate
2. Determining Your Growing Zone and Frost Dates
Timing is crucial when starting seeds, especially for those of us in colder climates with a shorter growing season. Each plant has its own ideal sowing time related to the last frost date in your area. Your growing/hardiness zone is based on the average climate conditions for your region. My growing zone in west central Wisconsin is 4b. More importantly, you must determine your average last and first frost dates for your location. You can find these dates by typing “frost dates by zip code” in your search engine which will return multiple resources for calculating your frost dates. These dates are important because they determine when to start your seeds indoors, sow your seeds directly outdoors, or transplant your plants outdoors. Remember, these are average dates based on historical weather data. They are not set in stone and you should always watch your local weather forecast on the days leading up to this date. Frost can kill or damage many plants so it is important be aware of your local temperatures.
- Last frost date: The average date of the last frost in the spring. My last frost date is around May 11. This is the date I use to calculate when to start my seeds indoors. For example, a packet of tomato seeds suggests you start the seeds indoors 6-8 weeks before your last frost. In my case, I would use May 11 and count backwards by 8 weeks to determine the earliest date on which to start my tomato seeds indoors which would be March 16.
- First frost date: The average date of the first frost in the fall. My first frost date is around September 27. This is the date around which I can expect the first frost to occur in my area. Again, this is an average date and the actual first frost can occur before or after this date. This is the point in the season that I expect my plants to die off or be damaged by frost without protection. I would not want to transplant most tomato varieties beyond the end of June because they would not reach maturity before the frost takes them out.
3. Preparing Your Seeds and Supplies
Before planting, gather the necessary supplies:
- Seed trays or pots: Ensure they have drainage holes. You can find seed trays at your local garden center or online. The seed trays at garden centers are typically cheap but are low quality and only last a season or two. Although an investment, I suggest purchasing sturdy, high quality seed trays that will last for years to come. I purchased trays and cells from Bootstrap Farmer and absolutely love them! They are easy to clean and have stood up to three growing seasons so far.
- Seed-starting mix: A light, well-draining mix designed for seedlings. Your local garden center will have several options, just look for a mix that states it is for seed starting.
- Labels: To keep track of what you’ve planted. I use popsicle/craft sticks because I can buy a big package of them for cheap. I write the plant variety on the stick with an ultra-fine flair pen.
- Watering can or spray bottle: For gentle watering.
Steps:
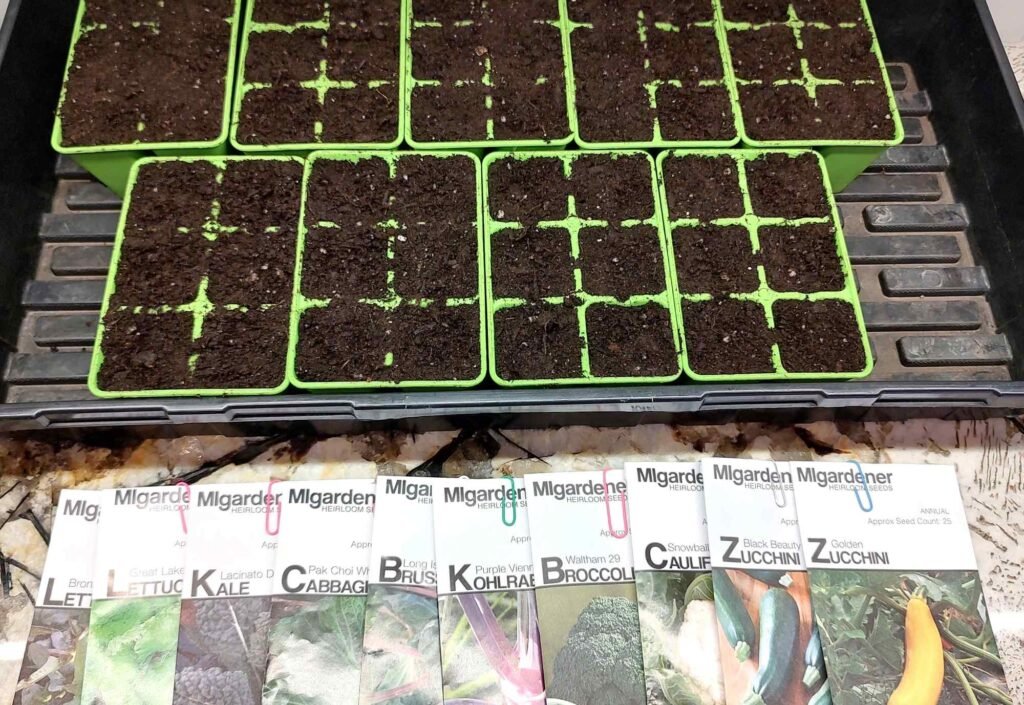
- Fill your seed trays or pots with the seed-starting mix. If the soil mix is a little dry, add some water beforehand. You want your soil mix to be lightly moistened before planting the seeds. I fill the cells with the soil mix, then using my fingers I push down with medium pressure to pack the soil mix down a bit and then add more soil mix to top off the cell.
- Follow the seed packet instructions for planting depth. I use the end of a pencil to create a hole in the soil mix according to the depth on the seed packet. I place at least two seeds in each hole in order to guarantee germination and lightly cover the seeds with the soil mix. If both seeds germinate, I will remove the smaller, weaker seedling.
- Label with the plant variety so that you don’t lose track of what you planted.
- Gently water from the top to give the seeds a good soak. You must maintain a damp environment for your seeds to germinate. If the soil mix dries out, your seeds will fail to germinate.
4. Providing the Right Conditions
Seeds need warmth, light, and moisture to germinate. Here’s how to create the ideal environment for your seeds:
- Temperature: Most seeds germinate best in a warm environment. If you want to speed up germination, a seedling heat mat can help, although I have opted not to use one because all of my seedings germinate just fine inside my home (68-72 degrees Fahrenheit).
- Light: Once seeds have germinated, they need plenty of light. Place them in a sunny location or use grow lights to ensure they get 12-16 hours of light per day. I have tried both methods and found that grow lights resulted in stronger, healthier looking plants. Your local hardware store will have some grow light options or you can order them online. I use a T8 full spectrum grow light.
- Moisture: Keep the soil consistently moist but not waterlogged. Overwatering can cause disease and kill your seedlings. Using a spray bottle to top water can help to avoid overwatering during the germination phase.
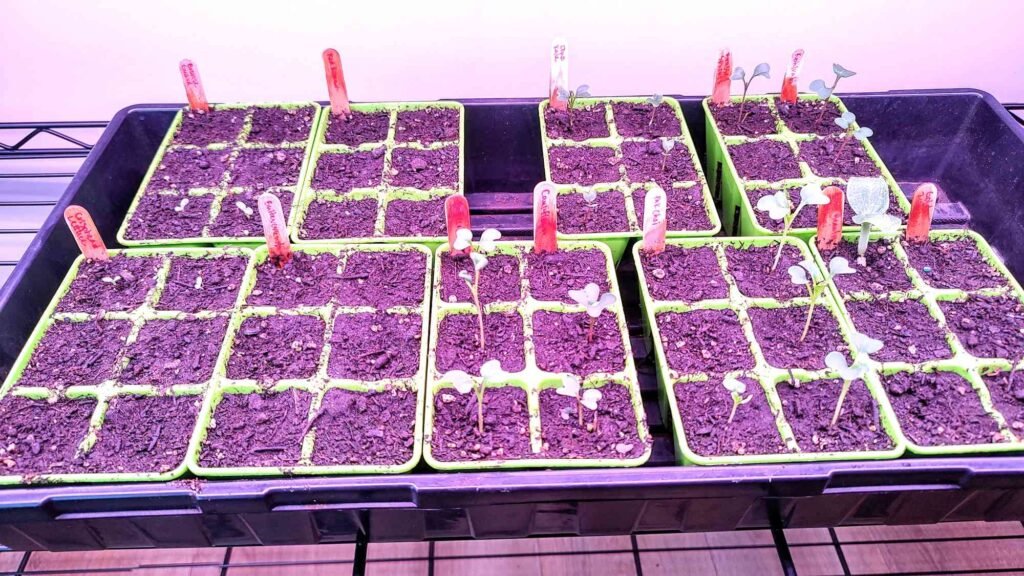
5. Caring for Seedlings
As your seeds sprout and grow into seedlings, they will need continued care:
- Thinning: Once seedlings develop their first true leaves, thin them to prevent overcrowding. You can do this by gently pinching off at the stem or carefully use scissors.
- Fertilizing: Feed seedlings with a diluted, balanced fertilizer to support their growth. Avoid over-fertilizing, which can harm young plants. I use Espoma Organic All-Purpose Plant Food with every other watering.
- Watering: Once the seedlings have emerged, switch to bottom watering and only water when the top of the soil starts to dry out. Fill the bottom tray with about 1/2 inch of water and allow the soil to soak up the water from below. Once the top of the soil appears wet, dump out the rest of the water.
6. Transplanting Outdoors
When seedlings are large enough and the outdoor conditions are suitable (after the last frost), harden them off by gradually exposing them to outdoor conditions before transplanting them into the garden. On the first day, put the plants in a shady location outdoors for 2 hours. On each subsequent day, double the amount of time the plants spend outdoors and increase their exposure to sunlight (Day 2: 4 hours; Day 3: 8 hours; Day 4: 16 hours; Day 5: all day and overnight).
Once the hardening off process is complete, it’s time to transplant your plants in the garden. Using a handheld garden trowel or simply your hands, dig a hole in the soil that is around the same depth as the cell or pot that your plant has been growing in. Gently remove the plant from the cell/pot by holding the base of the stem, tipping it to the side, and wiggling it free. Place the plant in the hole so that the base of the stem is level with the soil. Fill in the soil around the roots and apply some pressure to pack down the soil. Water the soil around the plant.
Note: Tomato plants benefit from planting them deep because they will grow roots along the stem. Dig the planting hole deep enough so that a good portion of the stem will be under the soil.
7. Troubleshooting Common Issues
Seed starting can come with challenges. Here’s how to address some common problems:
- Leggy Seedlings: If seedlings are tall and spindly, they may not be getting enough light. Increase their light exposure.
- Damping-Off: This fungal disease causes seedlings to wilt and collapse. Improve air circulation and avoid overwatering.
- Slow Germination: Check if the soil is too cold or too dry and ensure you’re using fresh seeds.
How to Start Plants from Seed: Final Thoughts
I believe that we all should have some knowledge about how our food grows. It connects you with the natural cycle of growth and you appreciate what you eat so much more. If there was ever a scenario where you couldn’t rely on your grocery store for food, knowing how to grow your own food will be an invaluable skill. Learning how to start plants from seed does not need to be difficult or complicated. With a little soil, water and light, you will be on your way to a successful harvest. Happy planting!
Check Out My Similar Posts
You Might Also Like
-
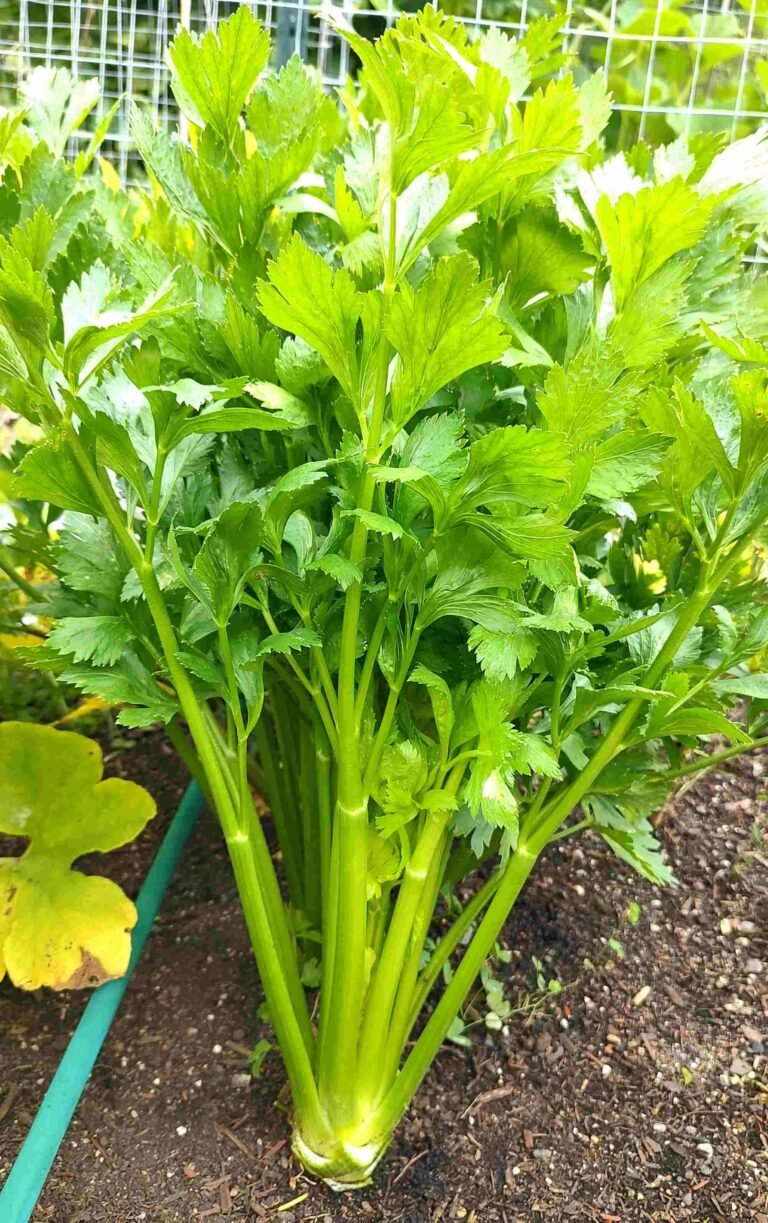
How to Grow Celery
Celery is a crisp, versatile vegetable that adds a refreshing crunch to salads, soups, or snacks….
-
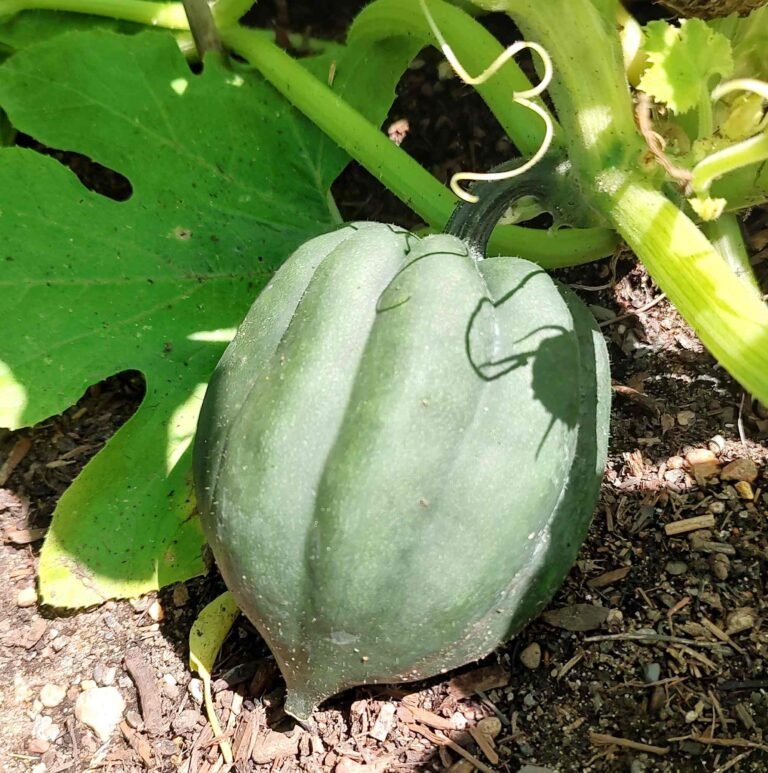
How to Grow Squash
Squash is one of my favorite vegetables to grow in the garden. I love their big…
-
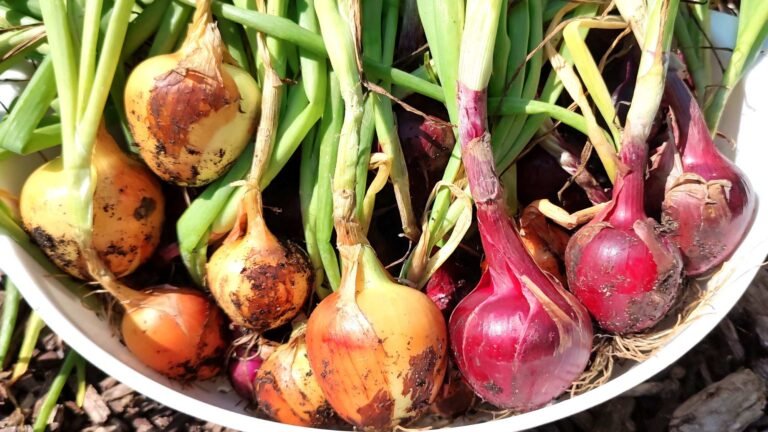
How to Grow Onions
Onions are a staple in kitchens around the world, renowned for their flavor and versatility. Raw…